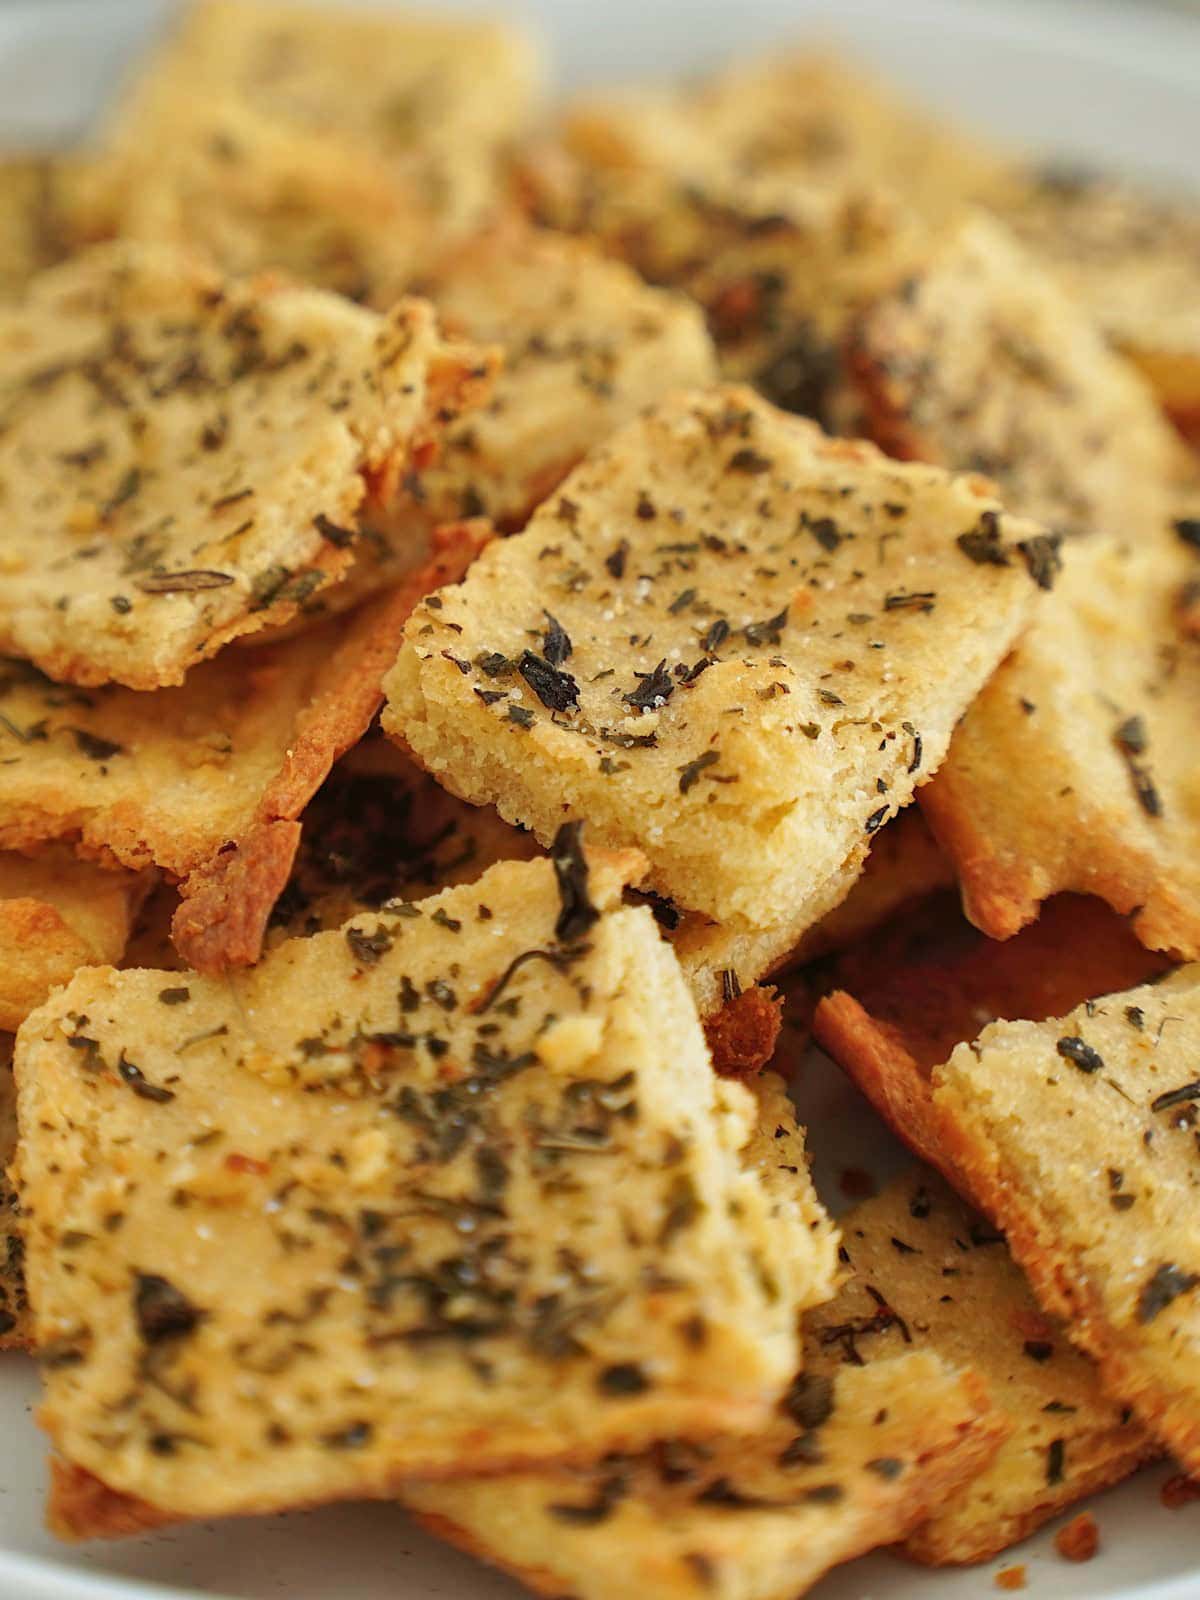
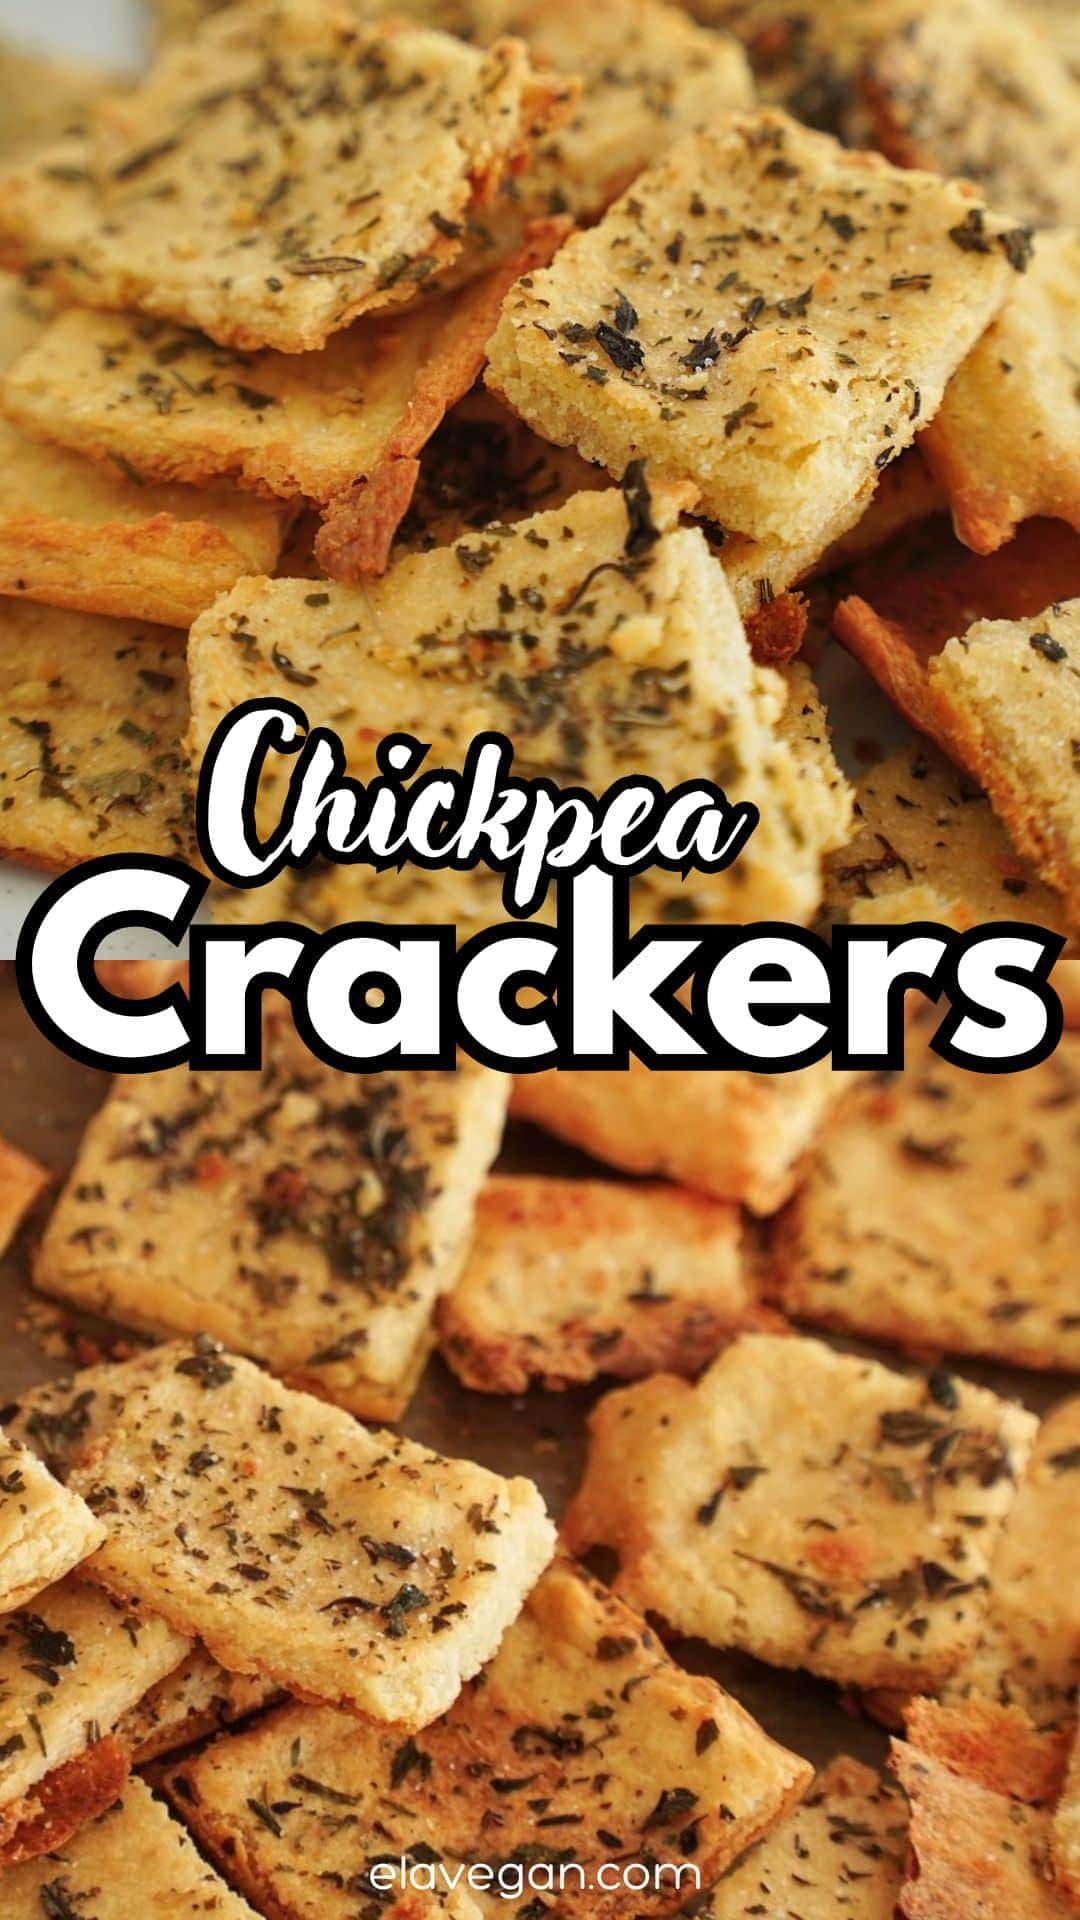
These easy chickpea crackers are ultra crunchy, with endless seasoning options, and loaded with fiber and plant-protein – perfect with cheese, dips, and more!

Not only are chickpeas incredibly low-budget and packed with nutrients, but they’re quickly becoming one of my most versatile pantry staples – perfect for roasting into crispy chickpeas and transforming into chickpea tofu, chickpea ‘tuna’, and even chickpea cookie dough. Now, it’s time for these simple homemade chickpea crackers.
Made with just one main ingredient, plus a few basics everyone already has at home, these delicious gluten-free garbanzo bean crackers pack in lots of fiber, protein, and minerals, are ultra crunchy, and endlessly customizable with your favorite spices, herbs, and seasoning blends. Simply soak, blend, spread, and bake to crunchy cracker perfection; great for parties, lunchboxes, and as a healthy snack (alongside my almond flour keto crackers!).

The Ingredients
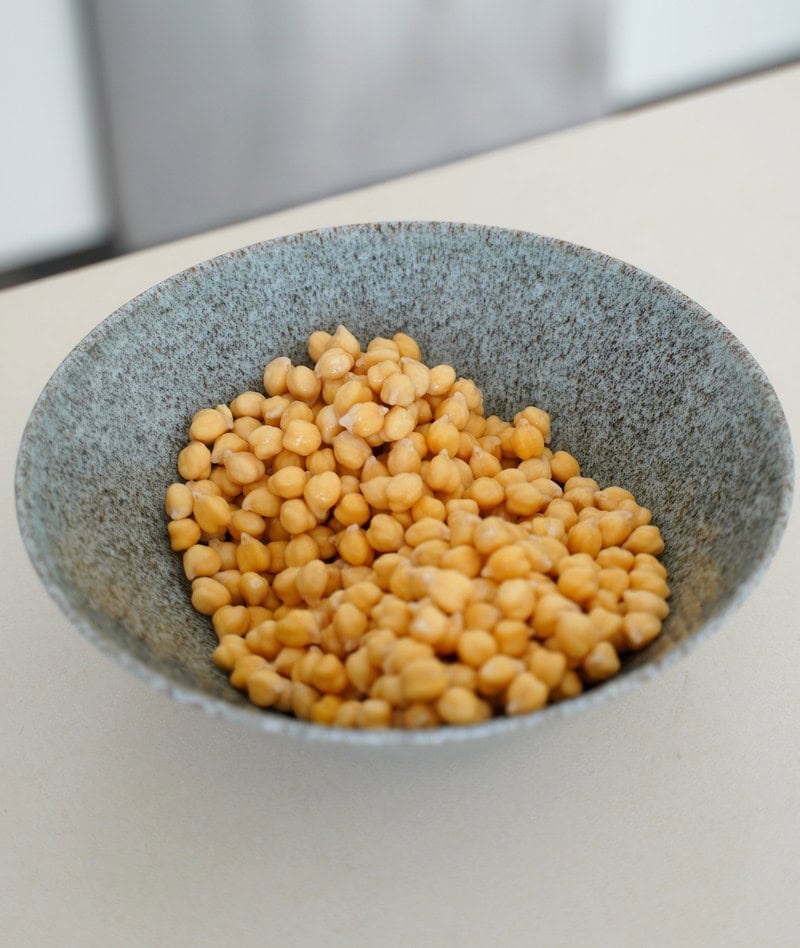
- Chickpeas: Dried chickpeas, soaked overnight, provide the best texture for these chickpea chips/ crackers.
- Seasoning: I used Italian seasoning, but feel free to experiment with your favorite seasonings and spice blends (options listed below) in this versatile chickpea chips recipe.
- Water
- Salt
- Oil: Use neutral vegetable/avocado oil (or olive oil), for crispy garbanzo bean crackers.
For the full ingredients list, measurements, complete recipe method, and nutritional information, read the recipe card below.
Flavor Options
- Spices (garlic powder, onion powder, smoked paprika, turmeric, black pepper, etc.)
- Herbs (i.e., fresh or dried rosemary, thyme, etc.)
- For spice (chili/cayenne pepper, chipotle powder, red pepper flakes)
- Seeds (like flax seeds, chia seeds, poppy seeds, mixed seeds, etc.)
- Cheesy chickpea crackers (add nutritional yeast and/or sprinkle with vegan parmesan)
- Seasonings (everything bagel, garlic & herb, curry powder, za’atar, dukkah, etc.)
How to Make Chickpea Crackers
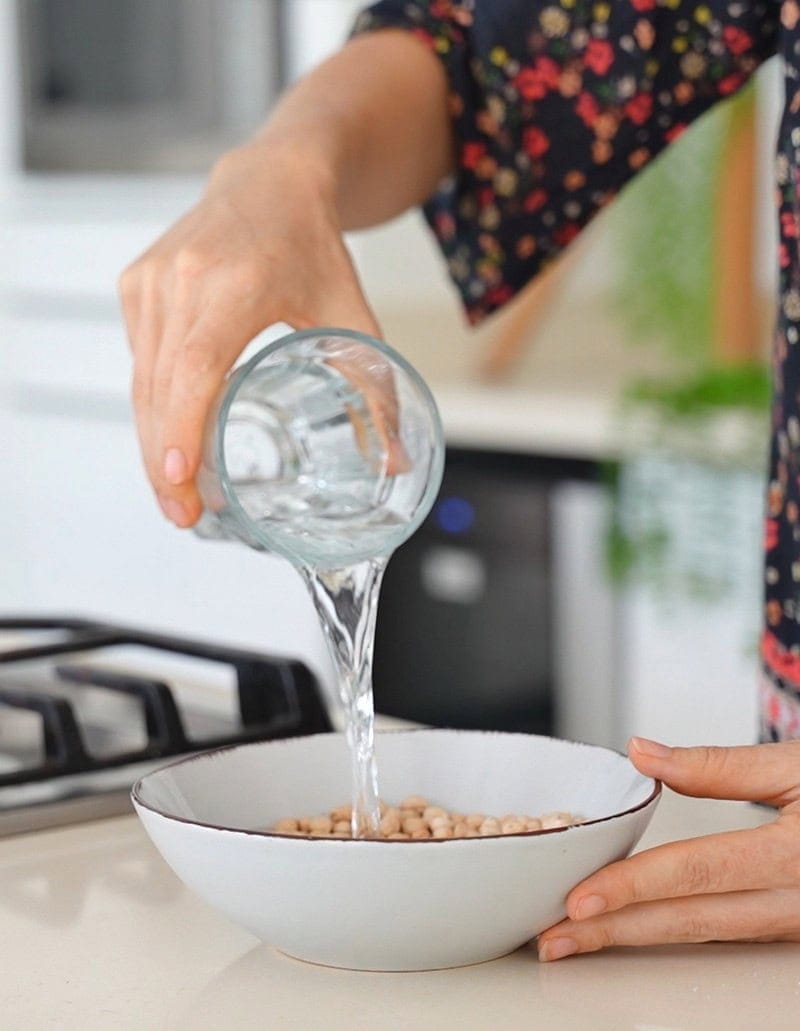
- First, soak the chickpeas in cold water overnight, then drain thoroughly.
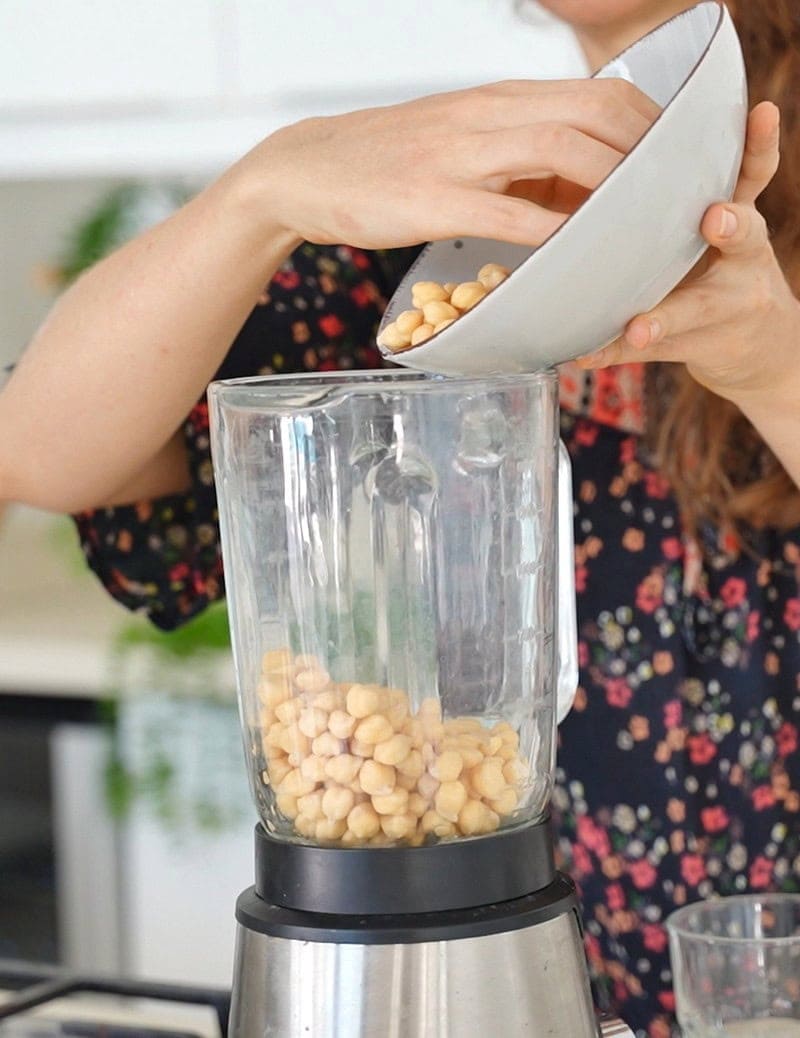
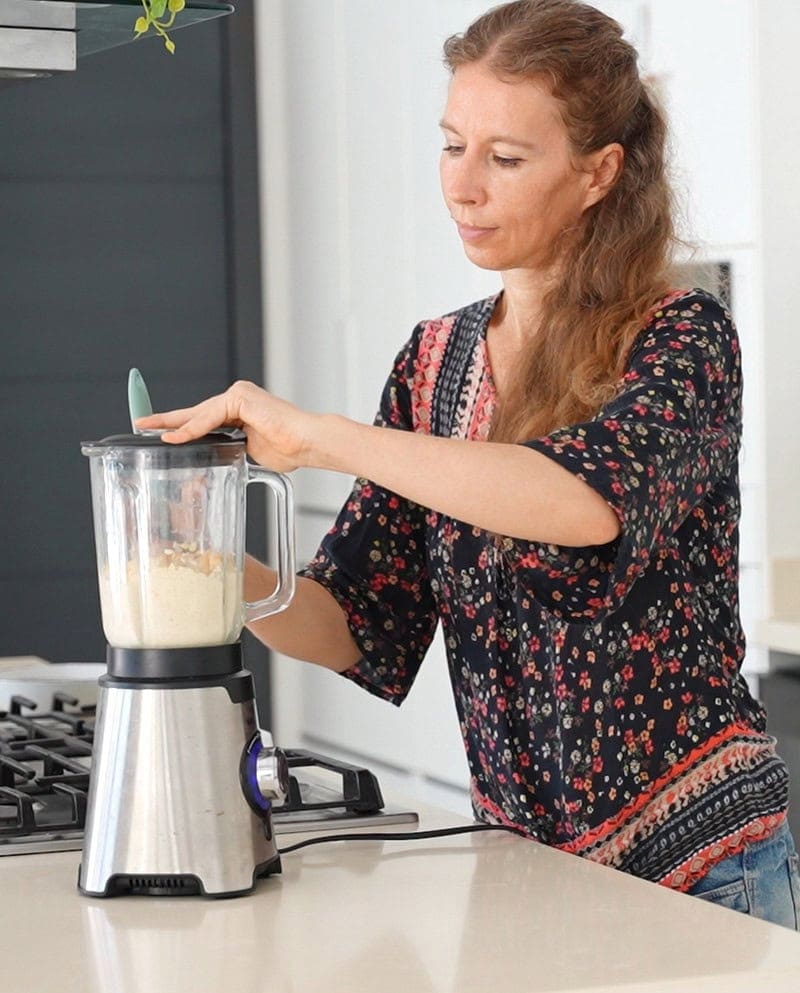
- Blend the soaked chickpeas, fresh water (start with 3/4 cup, add more only if the batter is too thick), and salt in a high-speed blender until smooth, pausing to scrape the sides as needed.
- Preheat the oven to 375°F/190°C and line a large baking sheet with oiled parchment paper.
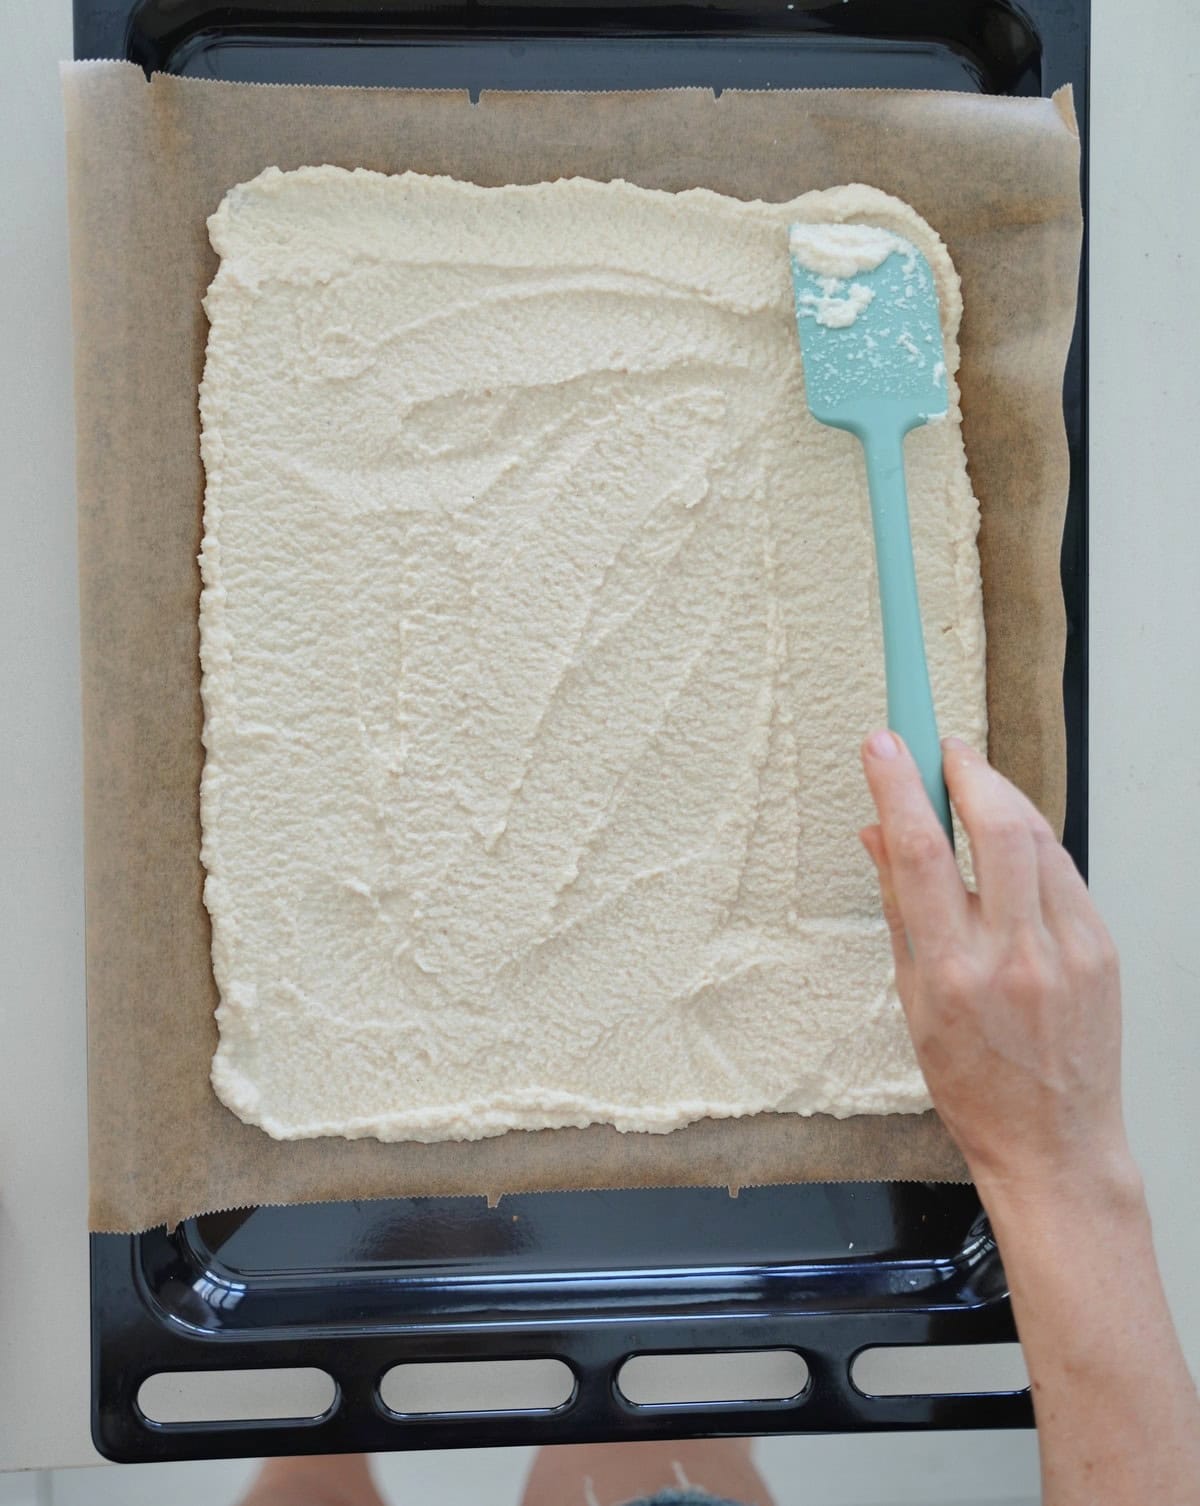
- Pour the chickpea mixture onto the tray and spread evenly with a spatula.
Note, the thinner the crackers, the crispier they’ll be – but don’t make them too thin, or they’ll burn.

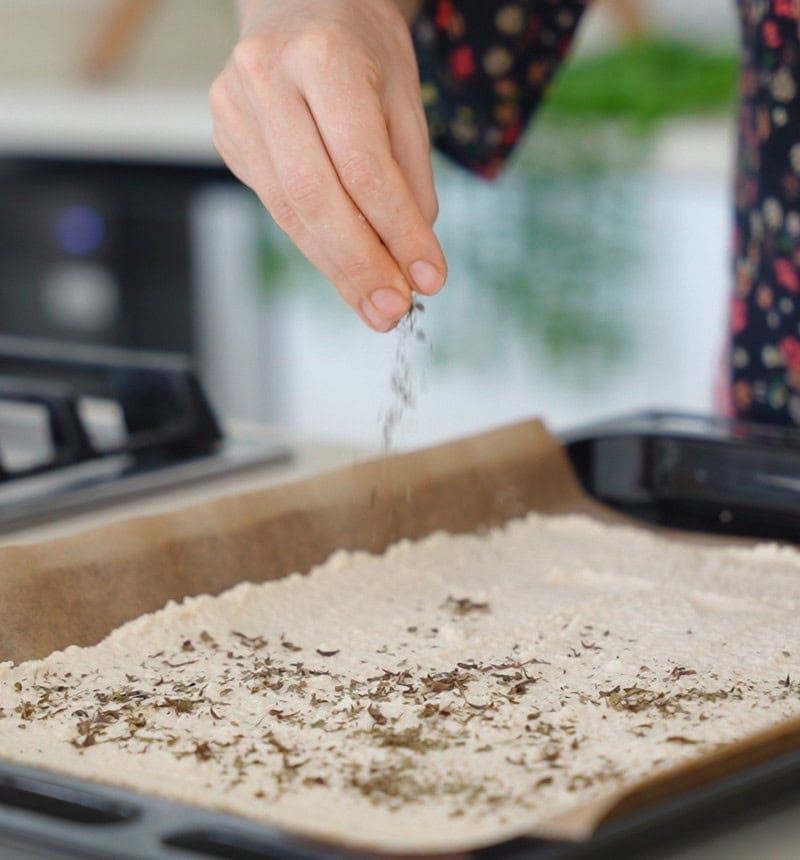
- Sprinkle the top of the crackers with Italian seasoning and bake for 20 minutes.
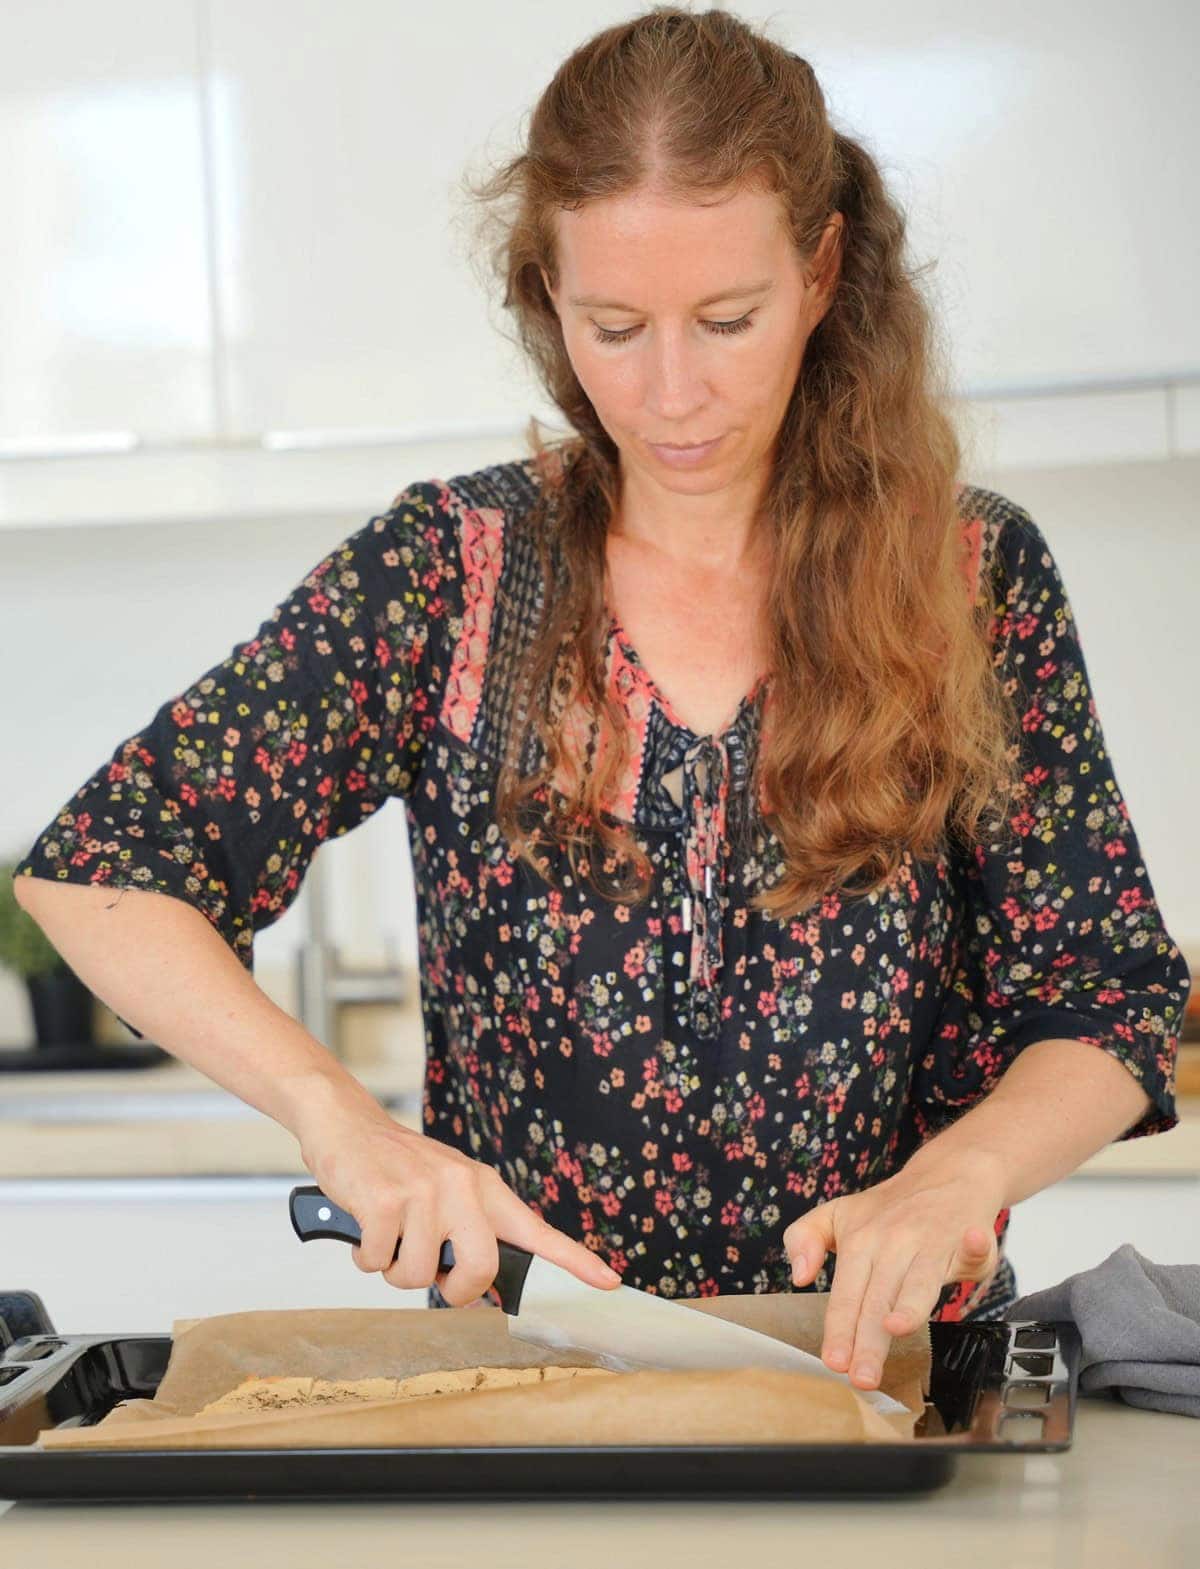
- Remove from the oven, cut the baked chickpea batter into square, rectangular, or triangular crackers with a sharp knife or pizza cutter, and gently loosen from the parchment paper.

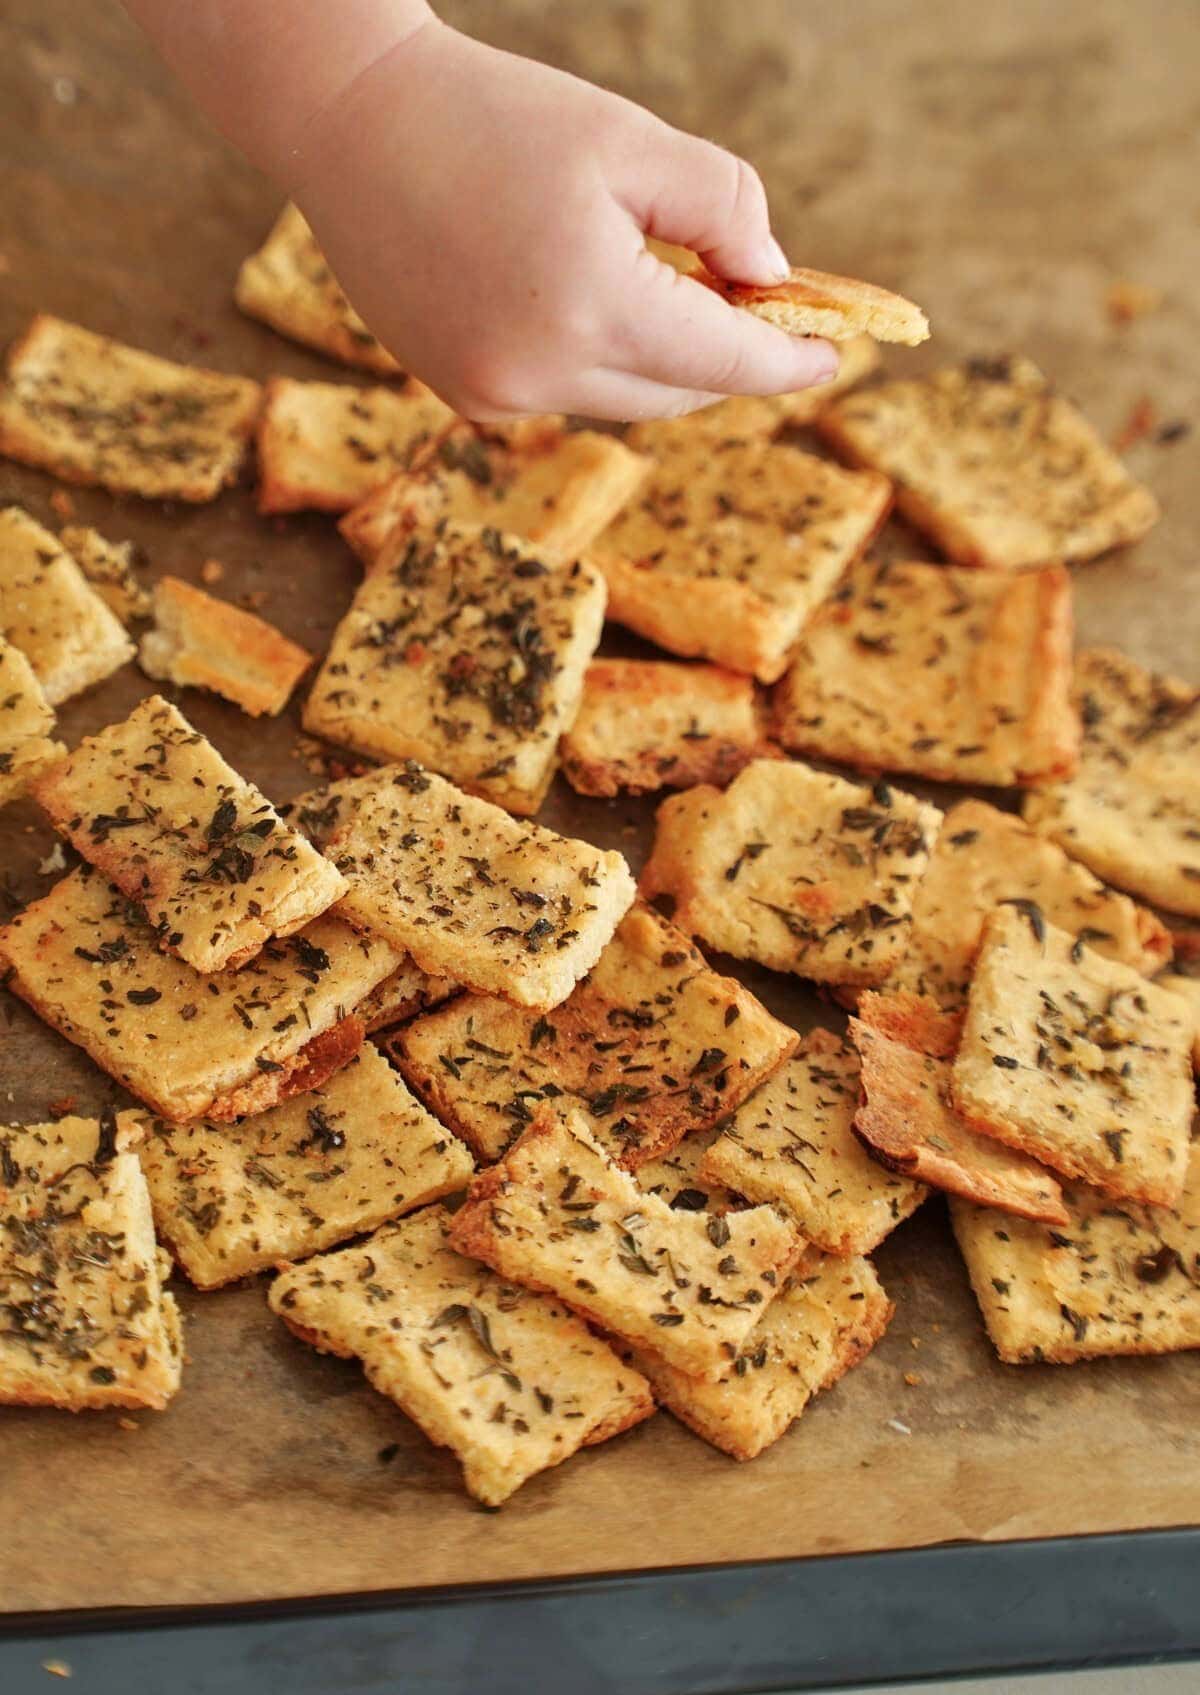
- Drizzle with 1-2 tablespoons of oil, toss gently until evenly coated, and bake for 5-10 minutes, until golden and crisp.
- Leave them to cool and harden, then enjoy your homemade chickpea crackers!
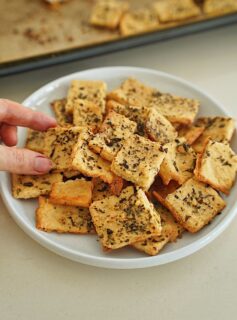
How To Serve Garbanzo Bean Crackers
These crackers are a perfect snack for charcuterie boards (alongside olives, nuts, and pickles), over/alongside soups, stews, and salads, and with:
- Dips: Like hummus (plain or flavored), guacamole, baba ghanoush, fresh salsa, white bean dip, French onion Dip, spinach artichoke dip, etc.
- Spreads: Like avocado pesto, olive tapenade, or even just a little dairy-free butter.
- Cheese: In my case, delicious vegan cheese, like vegan cream cheese, vegan ricotta, vegan cottage cheese, firm vegan cheese, vegan cheddar cheese, etc.
Storage Instructions
Store: In an airtight container at room temperature for 7-10 days. If the crackers soften, re-crisp them in the oven (or an air fryer) for a few minutes.
Freeze: In an airtight container for up to 3 months. Thaw the garbanzo bean crackers on the counter for a few minutes before enjoying.
FAQs
Are chickpea crackers healthy?
Made with only chickpeas, a little oil, and seasonings, these homemade chickpea chips/crackers are low GI, high fiber, high protein, nutrient-dense, naturally gluten-free, and contain no preservatives, additives, or other unnecessary ingredients.
What if the crackers are soft?
Whether they’re soft right out of the oven or have gone soft when stored, just return them to the oven for a few minutes to make them crunchier.
What if the crackers bake unevenly?
The edges may bake faster than the middle crackers. Monitor and remove any that are done cooking to avoid burned crackers.
Top Recipe Notes
- Don’t rush the soaking: Soak the chickpeas for 10-12 hours. If they aren’t soaked enough, they won’t blend smoothly.
- Blend until smooth: To ensure crisp, even crackers.
- Adjust the thickness: Aim for 1/8-inch (0,3 cm). Thick/ uneven crackers remain soft when baked.
- Adjust the size: Cut the crackers to your preferred shape and size.
- Let the crackers cool: They crisp as they cool, for maximum crunchiness.
More Vegan Chickpea Recipes
- Creamy harissa chickpeas
- Chickpea vegetable fritters
- Moroccan chickpea stew
- Chickpea broccoli nuggets
- Garlic broccoli chickpea stir-fry
- Chickpea tacos
If you try this easy chickpea crackers recipe, I’d love a comment and ★★★★★ recipe rating below. Also, please don’t forget to tag me in re-creations on Instagram or Facebook with @elavegan #elavegan—I love seeing them.
Chickpea Crackers
Video
Ingredients
Instructions
- You can watch the video for visual instructions.First, soak the chickpeas in cold water overnight, then drain thoroughly.
- Blend the soaked chickpeas, fresh water (start with 3/4 cup, add more only if the batter is too thick), and salt in a high-speed blender until smooth, pausing to scrape the sides as needed.
- Preheat the oven to 375°F/190°C and line a large baking sheet with oiled parchment paper.
- Pour the chickpea mixture onto the tray and spread evenly with a spatula.Note, the thinner the crackers, the crispier they’ll be – but don’t make them too thin, or they’ll burn.
- Sprinkle the top of the crackers with Italian seasoning and bake for 20 minutes.
- Remove from the oven, cut the baked chickpea batter into square, rectangular, or triangular crackers with a sharp knife or pizza cutter, and gently loosen from the parchment paper.
- Drizzle with 1-2 tablespoons of oil, toss gently until evenly coated, and bake for 5-10 minutes, until golden and crisp.
- Leave them to cool and harden, then enjoy your homemade chickpea crackers!
Notes
Nutrition information is an estimate and has been calculated automatically
 „Simple and Delicious Vegan“ Cookbook by ElaVeganCLICK HERE to order!
If you are using Pinterest, feel free to pin the following photo:

I don’t normally care for chickpeas but these are delicious. Only issue I have is they don’t get crispy. They aren’t thick so not i really am not sure why. Thinking maybe I need to bake longer to account for my humid climate.
Thank you so much! 😊💛 I’m glad you enjoyed them, especially if you’re not usually a fan of chickpeas. 😄
Yes, a humid climate can definitely affect how crispy they become. You could try baking them a little longer, keeping a close eye on them towards the end. Also, make sure they’re spread out in a single layer and not overcrowded.
One more thing: they often crisp up further as they cool, so it’s best to let them cool completely before judging the final texture. 😊💛
I meant “It’ll take hours, BUT thy turn out crispy…” My finger typed jibberish. sorry.
I’ve tried this recipe 2 times and both was a disaster. I am so sorry I even entertained the idea.
Hi Renee, this recipe is actually very straightforward and has been successfully made by hundreds of people, so I’m a bit surprised by a complete fail twice in a row.
It makes me wonder if something might have been very different in the process, for example using canned chickpeas instead of dried, blending not smooth enough, or a difference in oven temperature or thickness of the layer.
If you want, feel free to tell me exactly how you made it and I’m happy to help figure it out 😊
These crackers look amazing and I will definitely be making them for myself! My son is allergic to legumes, but can tolerate beans. Have you ever tried making these crackers with any type of bean like black beans, pinto beans, white beans, etc? Do you think that would work?
Hi Nina, yes, that works 😊 Just bake them a bit longer, about 20 minutes for the first bake and another 20 minutes for the second bake.
I used a can since that’s what I had on hand. Just needs less water. It’s in the oven and I whipped up the liquid from the can and seasoned it up a little bit and now I’m gonna try some whipped cookies. Thank you.
i have just made this crackers and they turned out crisp and very good, I love it when receipts works out just like they promise.
So glad to hear that. I’m really happy the crackers turned out crisp and worked just as promised. Enjoy them! 😊
These Crackers are delicious 😋 Thank you for sharing peace and blessings❤😁👏🏾👏🏾💯
Thank you so much, Cynthia 💛 I’m really happy you enjoyed the crackers. 😊
For how long can I keep them stored please?
Hello! It’s mentioned in this blog post, I will copy and paste it for you:
these look amazing.
would chickpea flour work? if so how much?
Hi Fiona, if you want to use chickpea flour, the recipe needs a small adjustment, since flour behaves a bit differently than soaked chickpeas.
I’ve tested this version recently. They turn out lighter and more chip-like, not as dense and crispy as the cracker version.
Use
• 1 cup chickpea flour (about 100 g)
• 2/3 cup water (150 ml)
The batter should look like pancake batter. Add any seasoning you like and bake for about 10 to 12 minutes.
Ive used chic pea flour but I much prefer my chic peas boiled until soft.
These are amazing!!! Followed your instructions and turned out perfect! What a healthy dense more-ish snack! Tried them as a toddler friendly recipe. Can’t wait for my daughter to try them 🙂
That makes me so happy to hear, Ashni. 🥰
Thank you so much for trying the recipe. I love that you made them as a toddler-friendly snack, that’s so sweet. I really hope your daughter loves them too 🤍
If your crackers turn out rubbery, then put them back in the oven. and bake until crispy. I use the lowest setting temp around 175. to 180.. It’ll take hours, ur they turn out very nice and crisp.
As mentioned in the comments, I did the recipe with red lentils and it is absolutely gorgeous. Will definitely make it again, thank you for the inspiration!
Thank you so much, Eve. 😊 I’m really happy to hear that it worked so well with red lentils and that you loved it.
So nice to know it inspired you, enjoy making it again!
Chickpea lover here.
I will make this recipe…I was looking for an easy and simple one…this fits the bill.
Thank you.!
You’re going to enjoy this one. It’s simple and really shows how good chickpeas can be.
Let me know how it turns out 💛
Hi Ela, love the recipe but was wondering what is the best size pan for this recipe. Thank you.
Hi Susan, my pan measures 55 x 34 cm and the parchment paper measures 38 x 42 cm.
I hope this helps.
These turned out delicious! Thank you for another wonderful recipe! My kids loved them whether they were soft or crispy, we’ve made them several times now. They crisp up nicely in the oven later on. Thank you!
So happy to hear that you and your kids loved them, and that they’ve become a repeat recipe! Thanks so much for sharing! 😊💛
I read somewhere else to store homemade crackers in glass jars to prevent them going soft..
Yes, that’s absolutely true — glass jars are one of the best ways to store homemade crackers.
Glass is airtight and doesn’t trap moisture the way some plastic containers do, so the crackers stay crispy much longer. Just make sure they’re completely cooled before sealing them, otherwise condensation can make them soft.
You can also slip in a little paper towel to absorb any extra humidity.
THANK YOU!
I’m always looking for healthy chickpea recipes. The recipe variations are endless- I’ll be testing out with “everything bagel” seasonings. I’m looking forward to using this with my own hummus recipes. 😉
That sounds amazing, Christy, “everything bagel” seasoning is perfect for these! 😍
I love how versatile chickpeas are too, you can really play around with the flavors endlessly.
Enjoy experimenting! 🙂
Is the oil drizzle at the end essential for the crackers? I don’t use oil but want to make them.
Hi Kristine, you can leave out the oil, but the crackers won’t get quite as crispy or golden. The oil is added after cutting to help them crisp up in the second bake.
Instead of oil, you can brush them with a tiny splash of lemon juice, or spray lightly with water before the second bake. This doesn’t make them very crisp, but it helps them bake more evenly.
Want to make these! Could I use organic olive oil spray to control the amount of oil? Thank you!
Hi Mindy! Yes, absolutely! Olive oil spray works great! Just give the crackers a light, even mist after cutting them, then bake the second time. You’ll still get that lovely crisp texture, but with much less oil. 🙂
I made half of the recipe (@24 crackers) as I usually do when I test a new recipe because I HATE to waste ingredients! I used “everything bagel” seasoning (like I do on top of your quinoa bread) instead of Italian seasoning. I sprayed them with organic olive oil at the halfway point. They turned out very good! I had to leave them in the oven for 30+ minutes the second time. I found them too salty but that’s probably because the everything bagel seasoning has salt in it, in addition to the salt added to the soaked chickpeas. Next time, I will reduce or eliminate salt. My brain expected “pita chips” because that’s what they look like. Some of the edges were crispy while the centers were softer. The key is to spread out the batter as evenly and as thinly as possible to yield a crispier. result. Another winner – thank you, Ela! Il will serve these on Thanksgiving with Rebel vegan cheese.
This is such a helpful review, Mindy, thank you for sharing all the details! 🙌
Everything bagel seasoning is really gut, but yes, it definitely adds extra salt, so reducing the added salt next time will fix that right away.
And you’re absolutely right: even spreading = crispier crackers, and the centers stay softer if the batter’s thicker in those spots.
I’m glad the olive-oil spray and longer second bake worked well for you too.
So happy this recipe made it onto your holiday table! 💛
Update: Help! I made the mistake of storing the crackers in a Ziploc bag and they got soft! How do you recommend making them crunchy again? Air fry? Bake? Temp? How long? Thanks!
Can we use besam flour instead?
Hi Julie! Besan flour won’t work in this recipe — just like regular chickpea flour, it would require completely rewriting the recipe.
This version only works with soaked, uncooked dried chickpeas because they create a thick batter that bakes into crunchy crackers. 🙂
Hi, can I use chickpeas from a can for these recipe?
Hi Tanja! Canned chickpeas won’t work for this recipe. They’re already cooked and way too soft — the batter won’t blend properly, won’t firm up, and the crackers won’t get crunchy.
You really need dried chickpeas that are soaked overnight, because they blend into a thick raw batter that bakes into crispy crackers. I hope this helps. 🙂
Yes, that’s very helpful, thank you 😊
Can I use chickpea flour instead?
Hi Grace! You can’t swap chickpea flour into this recipe — the batter and texture work completely differently. With soaked dried chickpeas, the batter is thicker and the crackers become extra crunchy and light. Chickpea flour makes the batter much runnier and the crackers turn out denser.
To use chickpea flour, you’d need to change the entire recipe, because flour-based versions use very little liquid and a totally different method.
If you want a chickpea-flour cracker, it’s best to follow a recipe that’s specifically designed for it. 🙂